

Cần những công cụ nào để tự làm một máy xay cỏ từ đầu?
Step-by-step guide to making a simple DIY weed grinder:
High-hardness metals (brass) are recommended as they have the highest wear resistance, are machinable on a lathe, and are corrosion resistant. Hardwoods rated 2000 or more on the Janka scale (like ebony or hickory), on the other hand, offer natural beauty and a lot of toughness for wood-on-wood projects. A Dremel with a router jig smooths edges and modifies preliminary approaches, whereas a trim router with 1/8′′ or 1/4′′ up-cut spiral end mills can quickly eliminate the bulk material between your tooth profiles for wood or acrylic prototypes. A set of needle files or deburring stones polish out the cutting edges to eliminate burrs before assembling, and a metal-capable lathe or laser cutter shapes your parts to exact sizes.
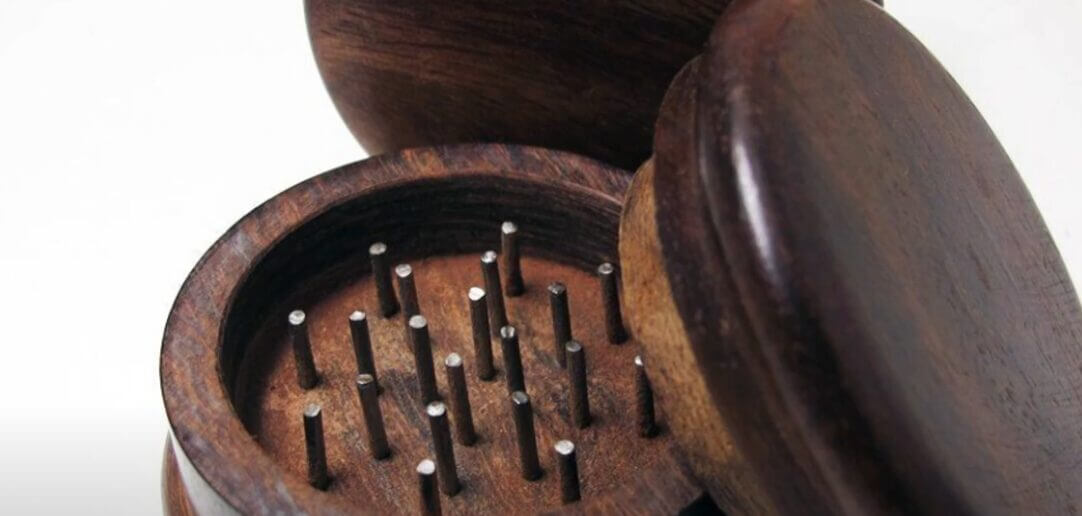
The first step of a lid production process is to install a brass billet or aluminum rod firmly into a lathe’s three-jaw chuck. Lower the rod to the correct lid size (such as 60 mm) with an external-turning tool. Next, carve ornate curves or scallops using a parting tool or form tool. The next step is to add knurling: lower the lathe speed to about 500 RPM and apply a straight knurl or a fine diamond around the perimeter of the lid, ensuring you leave a non-slip finish. Center-drill the face to find a pilot for your magnet pocket to ensure a flush fit, and then drill a blind hole as deep as the magnet thickness. Finally, use a grooving tool to roughen concentric grooves and drill the interior of the lid to its mating depth, creating shallow ridges that serve as the first grinding teeth.
How do I attach grinding teeth or blades in a homemade grinder?
Screen for making a cannabis grinder
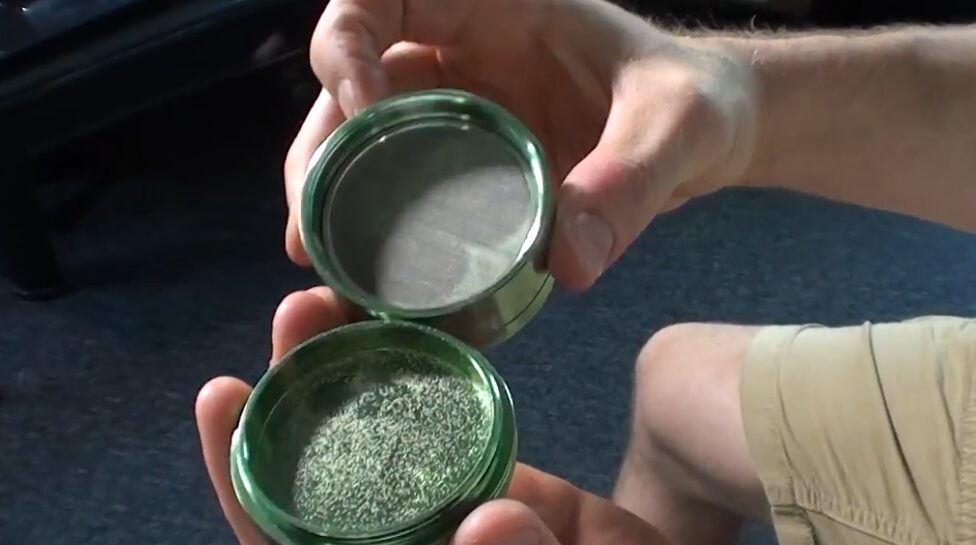
After turning down the exterior profile enough to make a line on the grinding area, bore the upper interior wall; and cut internal threads to exactly match the grinding piece. In order to retain a fine stainless-steel mesh: at the bottom of this bored cavity draw a shallow ledge or channel. The screen can be pressed fit or glued down into this groove to remain taut even when being vibrated. Lastly to finish the stack you can cut out the external threads on bottom face of this section to match the internal thread of component below.
make a kief catcher.
The final item of precision is the kief catcher, known as the collection base. Once the outside of the billet has been turned to the correct diameter, bore the top inner and cut internal threads that match the lower threads of the screen section. By boring the inside cavity into a smooth, somewhat rounded floor, kief is channeled to the center for easy retrieval. By using fine abrasives to polish the bowl area, unwanted retention of kief in harsh cracks may be avoided. Now, the end result is a beautifully designed, smoothly functioning grinder that is created from scratch and put together and torqued together of all four parts completely.
How to apply grinding teeth/blades in a homemade grinder.
Once the plate has been clamped and ground firmly in a router jig or milling vise, gently clear the gullets between tooth positions using a Dremel with a 1/8″ spiral up-cut bit (or a trim router with 1/4″ end mill). Do multiple rounds of light passes to remove tool chatter. Also ensure that the depth and width of each channel fits the depth and width of your teeth to make a coherent tooth profile, making each dentition of your teeth interlock.
When choosing and installing your cutting inserts, you need to pay attention to the geometry and rake angle. Carbide inserts in the shape of triangles and diamonds have a positive rake that cuts cleanly through resinous material. They also drop less plant debris and don’t get clogged as easily. To get the most throughput, install the same tooth arrays on both the lid and the grinding portion so that the material is sheared twice every time it turns. Diamond blades were used to make this Máy xay cần sa because they have four cutting edges and tapered shoulders, which balance vigorous cutting with fine, even particle size.
What methods ensure smooth alignment and assembly of weed grinder components?
To hold the tooth plates in place, machine-matching grooves or counterbores that fit M6 bolt heads are used into the bottom of each plate. Place the pre-cut or laser-cut plate over its support body, line up the grooves, and use M6 cap screws to hold it in place. To keep the nuts from coming free when they vibrate, put flat and lock washers under them and tighten each one to the right amount (for example, 5–7 Nm). For extra safety, put a drop of low-strength threadlocker on the teeth. This way of putting them together makes sure that the teeth stay stiff and may be used again and again without drifting or loosening.But if you feel that the above steps are too cumbersome, you can also choose to use a 3D printed weed grinder
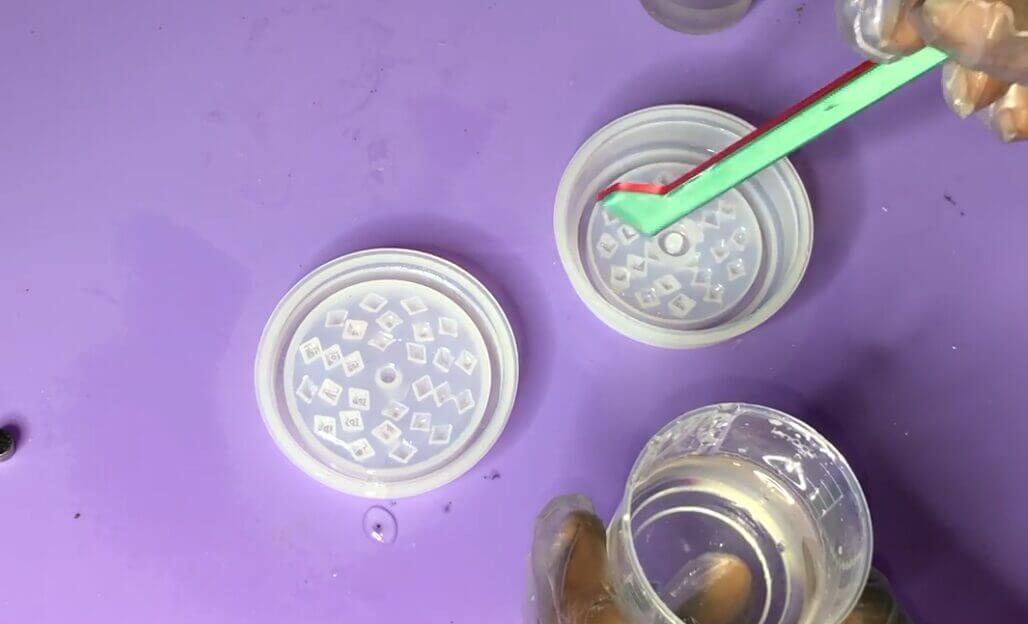
Are 3D-printed weed grinders a good option? Are the materials food-safe?
Because each unit only costs a few cents in filament and there are innumerable STL files for custom designs available for download on websites like Thingiverse, 3D printing a grinder may be almost free if you already have a printer. Because of the low entrance barrier, do-it-yourselfers can experiment with features that commercial grinders rarely provide, such as integrated storage chambers, self-rolling systems, or ergonomic shapes. Another significant benefit is rapid iteration: builders can fine-tune teeth patterns or chamber sizes in a matter of hours as opposed to weeks by just switching in an updated model and printing overnight.
But printed polymers just can’t compete with metals in terms of toughness and resilience to wear. Brittle layer bonds frequently break under torque, and standard PLA or ABS teeth quickly dull.