


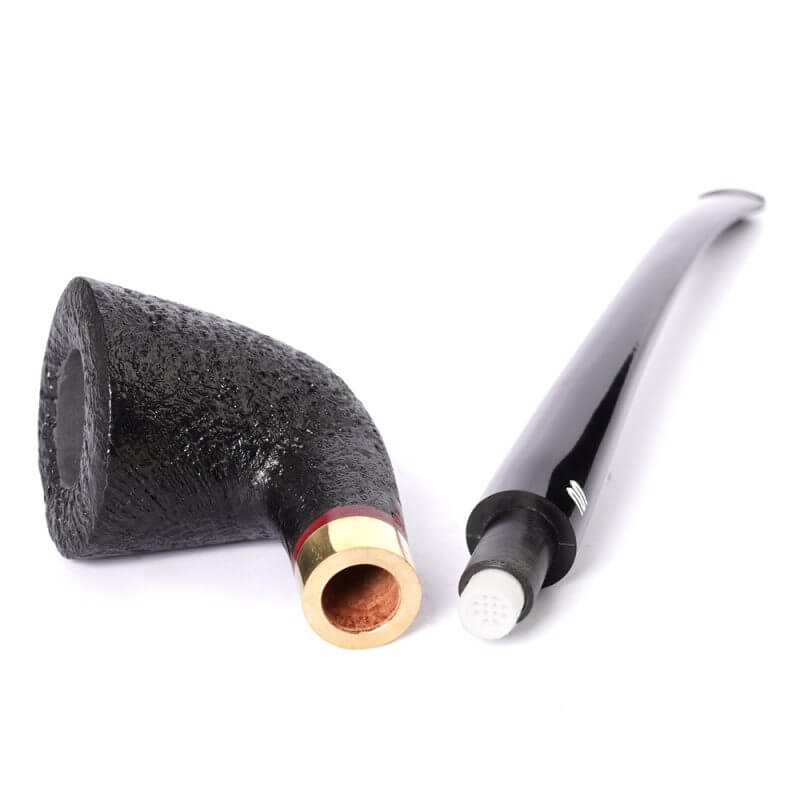
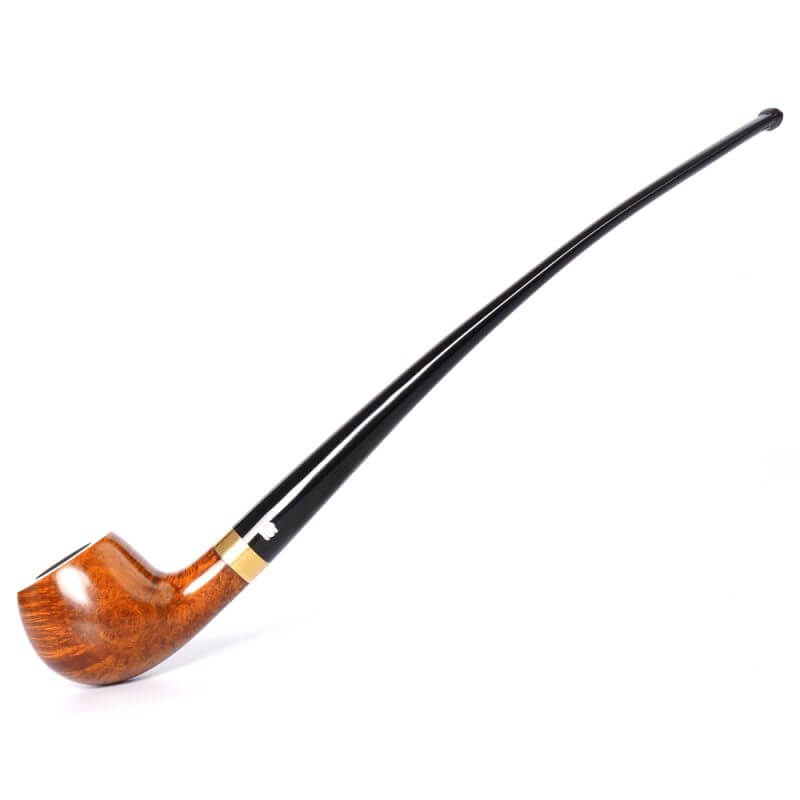
Artisan-Carved Holmes Tobacco Pipe
Original price was: $79.00.$59.90Current price is: $59.90.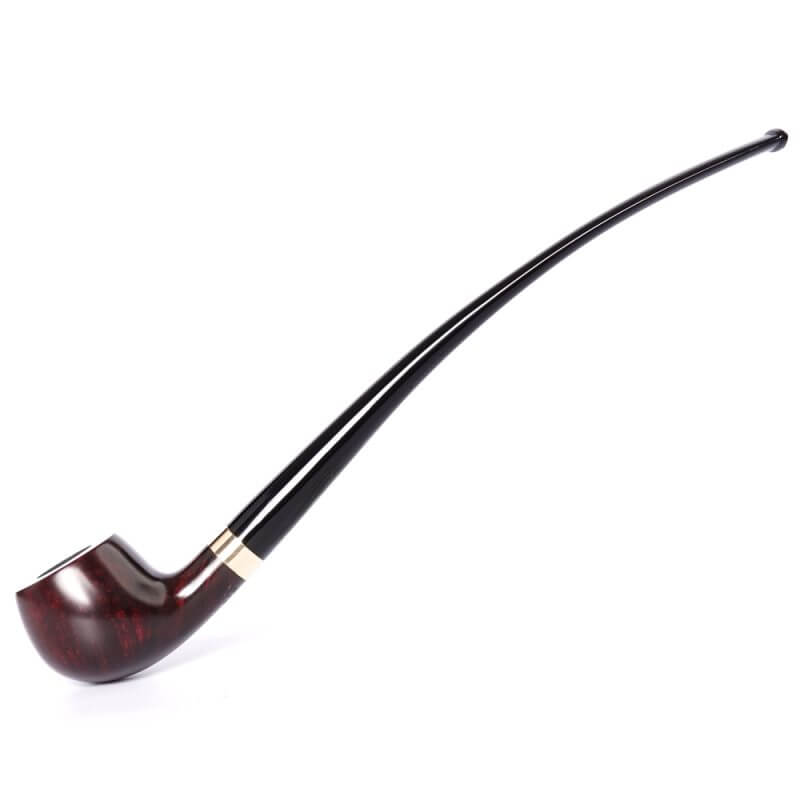
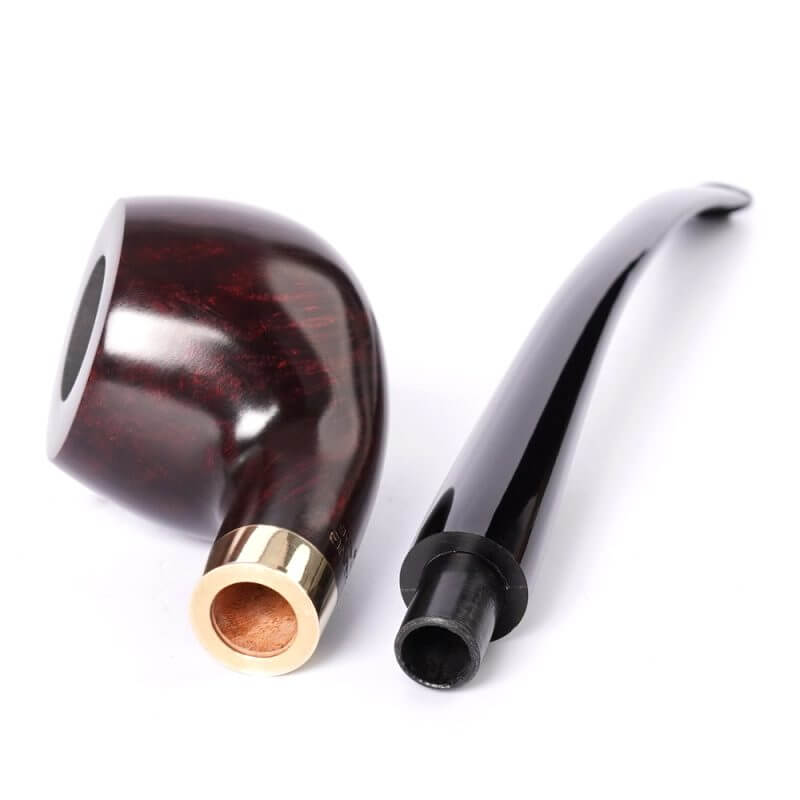
Handmade Lord Of The Rings Gandalf Pipe
SKU:
aa088s
Original price was: $129.00.$99.00Current price is: $99.00.
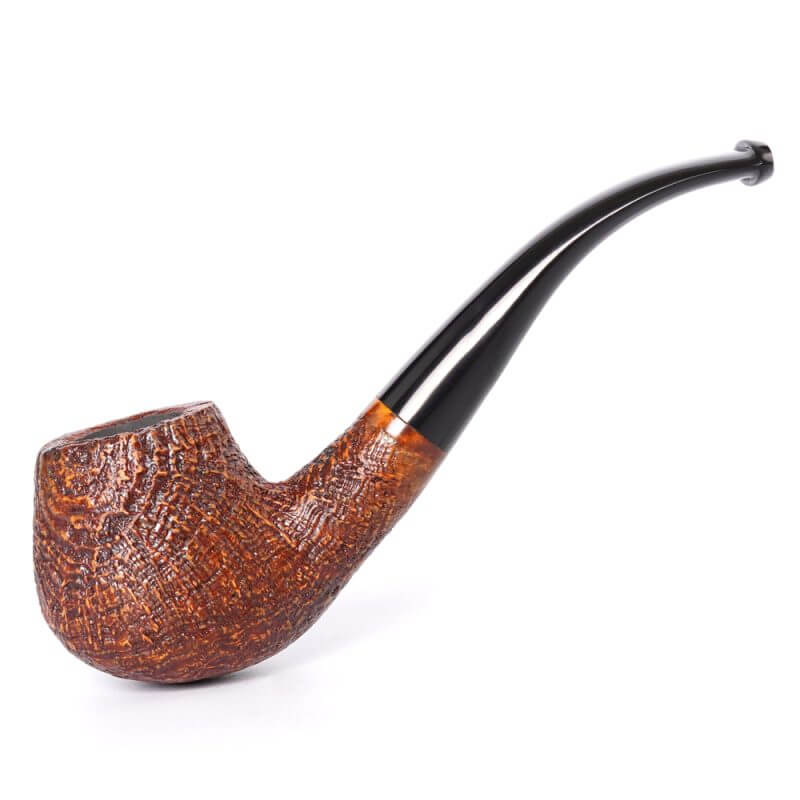
Wooden Sandblasted Gandalf Pipe
SKU:
AA0027S
Original price was: $119.00.$89.00Current price is: $89.00.
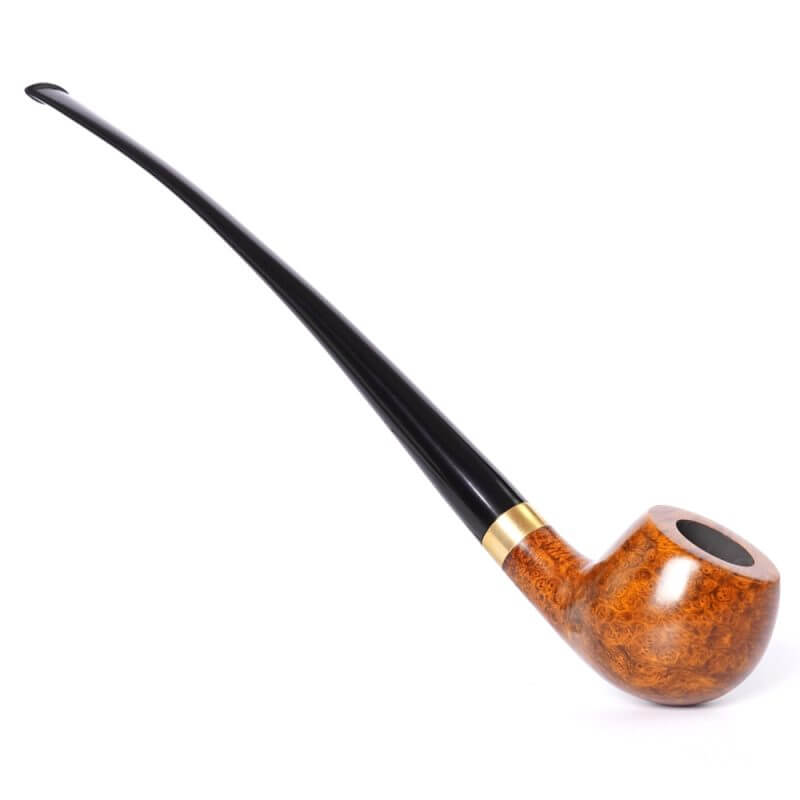
English Classic Hobbit Style Churchwarden Pipe
SKU:
aa0088Q
Original price was: $129.00.$99.00Current price is: $99.00.