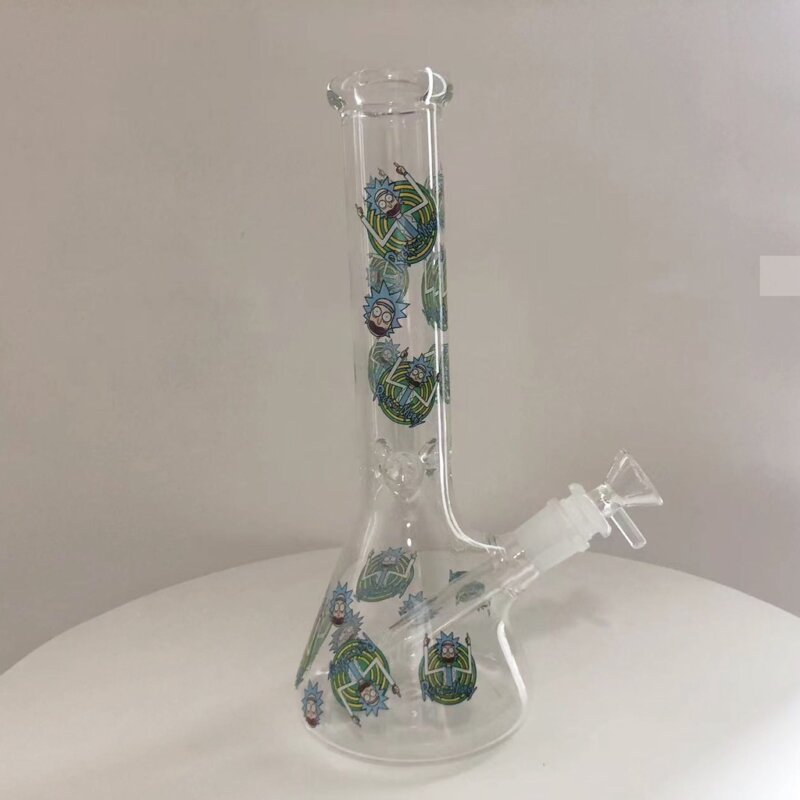
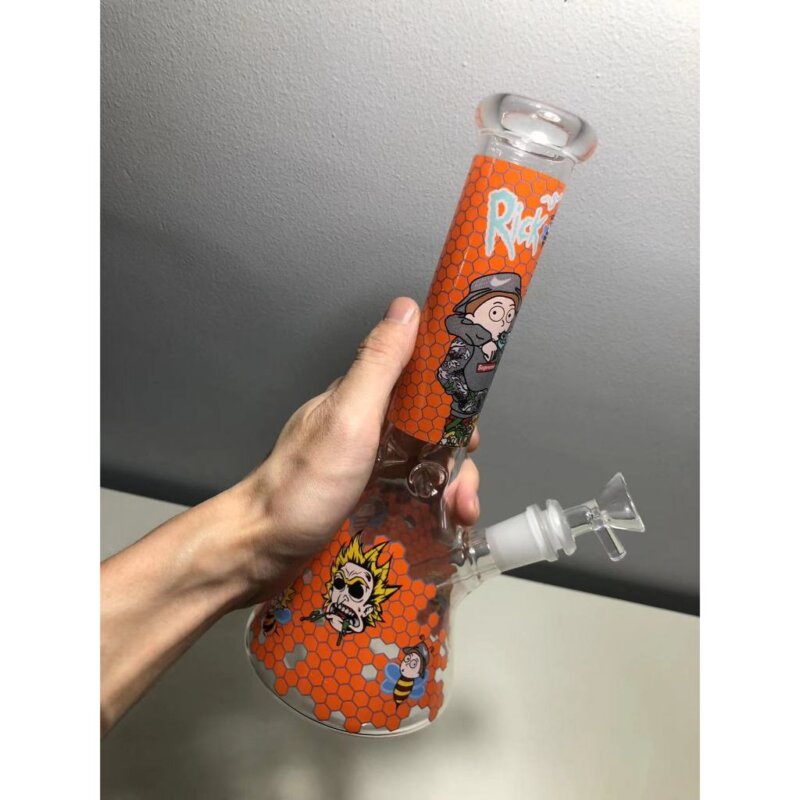
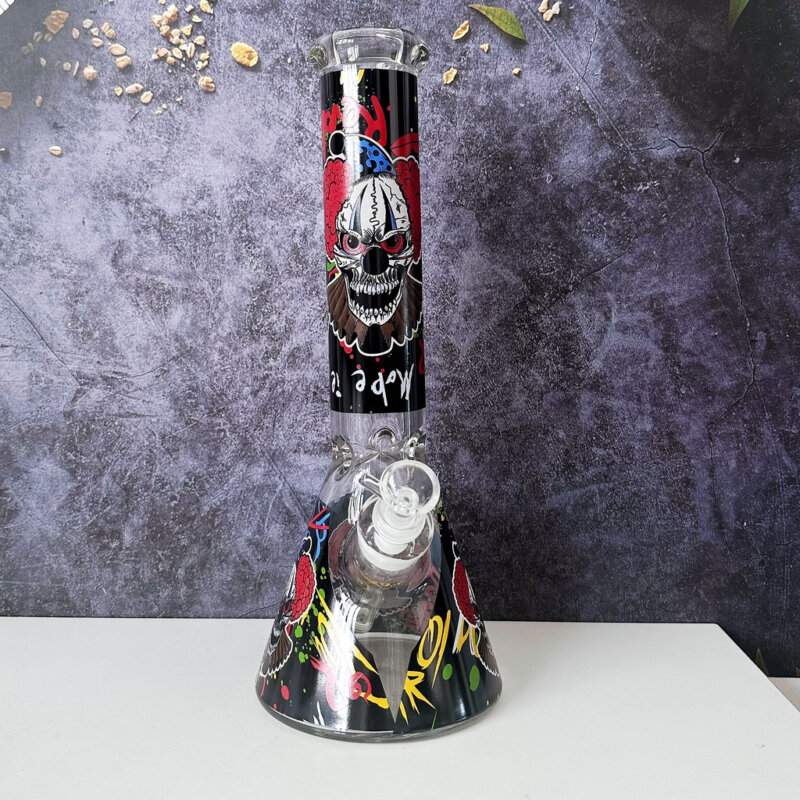
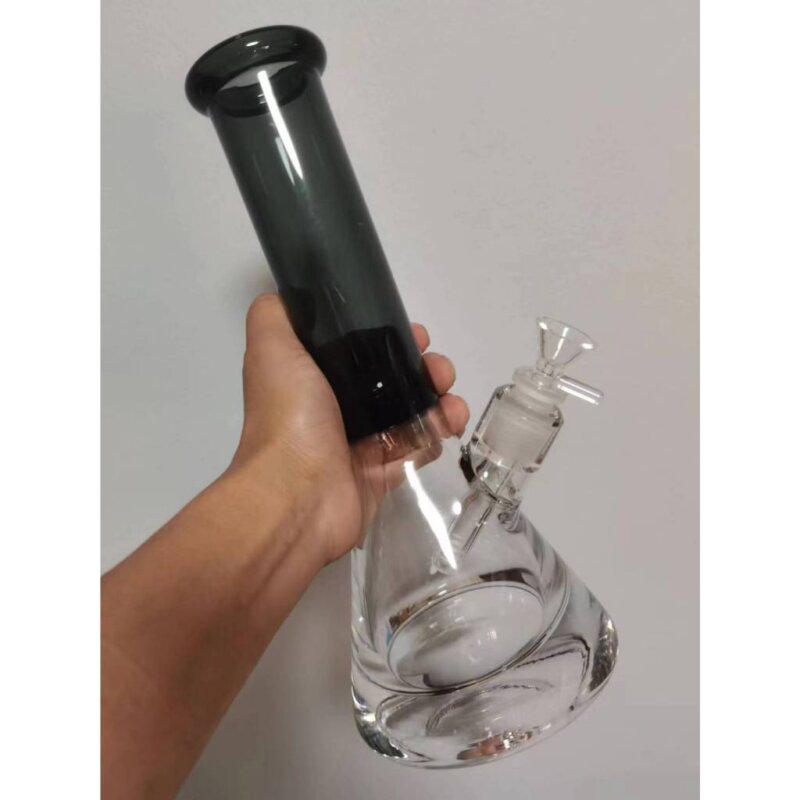
With Halloween right around the corner, There’s no better way to celebrate Halloween than with a smoke-filled celebration, and it’s still something you and your friends can do to have a little fun in the meantime.
So today I’m going to show you the tutorial on how to make a pumpkin bong, carve a bong out of this pumpkin to celebrate this spooky Halloween, let’s get started
Now we need the following tools when making pumpkin bong
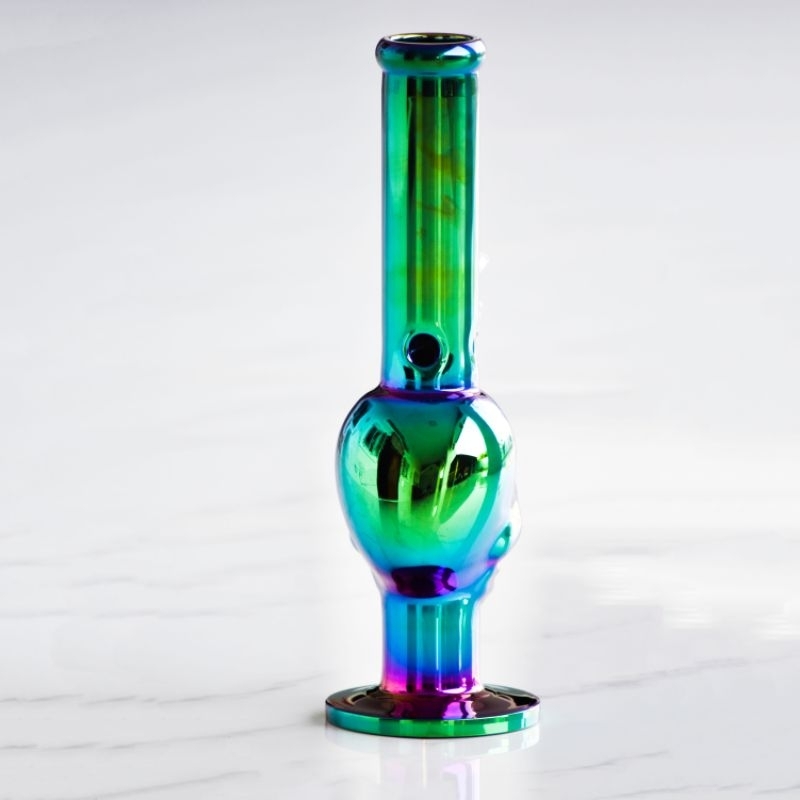
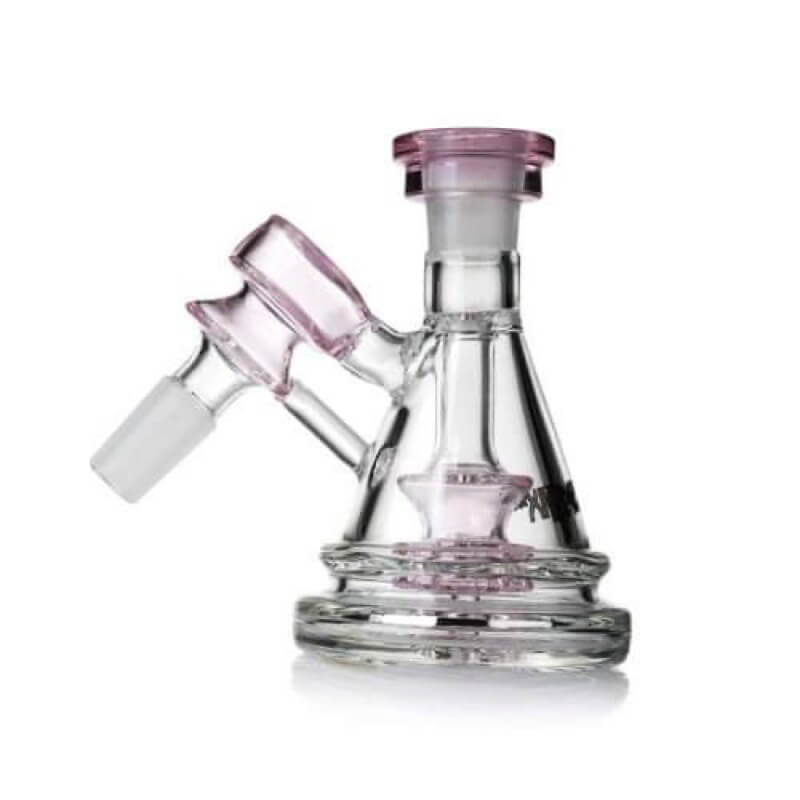
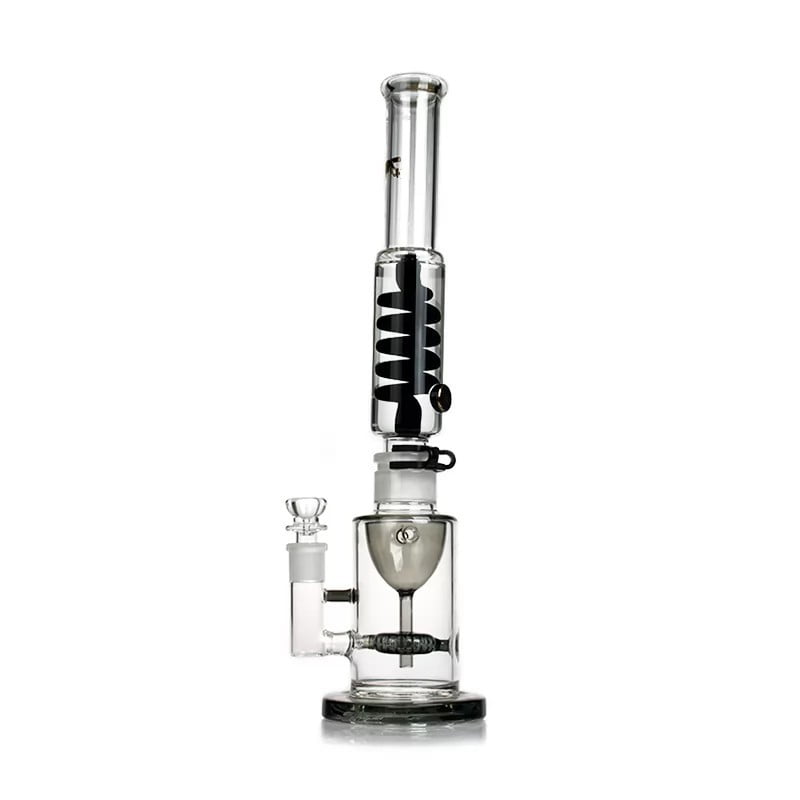
You’ll need: A small pumpkin, a downstem and bowl, a marker, corks, carving tools (if you’ve ever carved a pumpkin, you know how crucial these are). Then prepare the glass pipe as the cigarette holder and flue. These are from my old bong, if you don’t have one you can buy one on Amazon or on our Global-hookah website
Carve out the shape of Pumpkin Bong
First, carve the top of the pumpkin like you would a regular jack-o’-lantern. This will be your water chamber. Now that we’ve cut a circle, let’s start by cleaning out the seeds and tissue from the inside of the pumpkin. Use a knife to flatten the top of the pumpkin and take out all the seeds and all the fibers for carving, now you can see we’ve flattened it

During this time you need to make sure that the hole in the pumpkin is large enough to fit your hand through as shown in the picture below.

Drill holes for downtube and hose
Once everything is installed, add water just enough to cover the end of the downtube. Put the lid on, place in a bowl of water, and connect the hose. Now the Pumpkin Bong is ready to be lit! If you’ve never made one before, it can get pretty messy in the process, but we’ll get it bro, I know we can pull this off!
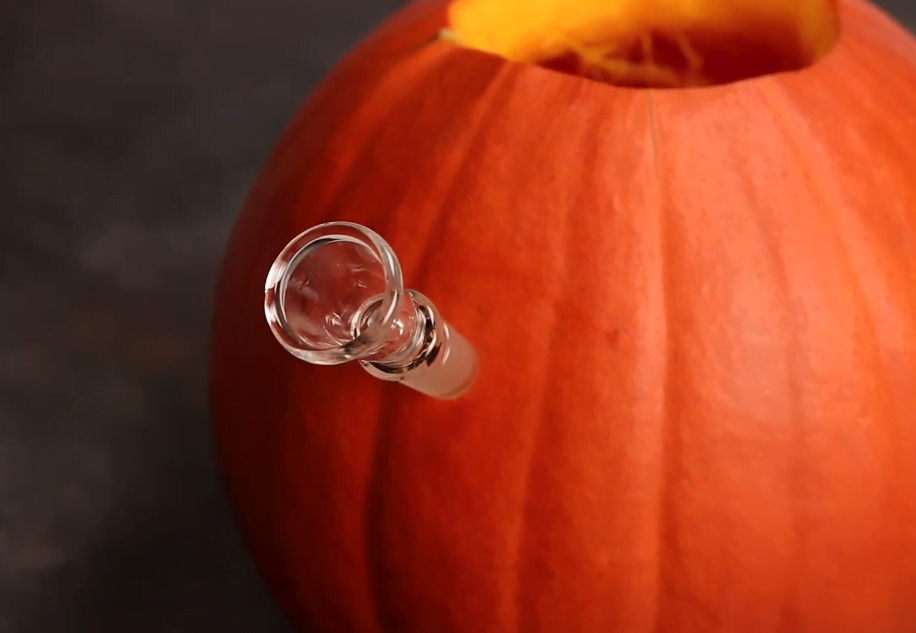
DIY pumpkin bong are a creative way to celebrate Halloween at home this year. Stay tuned for more blogs about making bongs, and have a wonderful and spooky October! If you have any difficulty trying to make your own pumpkin shisha, please let me know in the comments. I will leave a message for you to explain
Jesse Miller is our lead content writer on global-hookah. He has worked on global-hookah for twelve years, so he has a lot of knowledge about hookahs.As a hookah enthusiast, he has personally experienced the benefits of hookah. Therefore, he will spend more time writing better and more detailed articles to help hookah beginnersAbout the Author
![]()


